Purchasing in TORO: Start Here
Ordering inventory is one of those things that feels like it should be simple — and in TORO it is, once you know how the pieces fit together. This page is the map. If you're new to purchasing in TORO, read this first, then follow the links in order. If you've done it before and just need a specific screen or step, jump straight to the section you need.
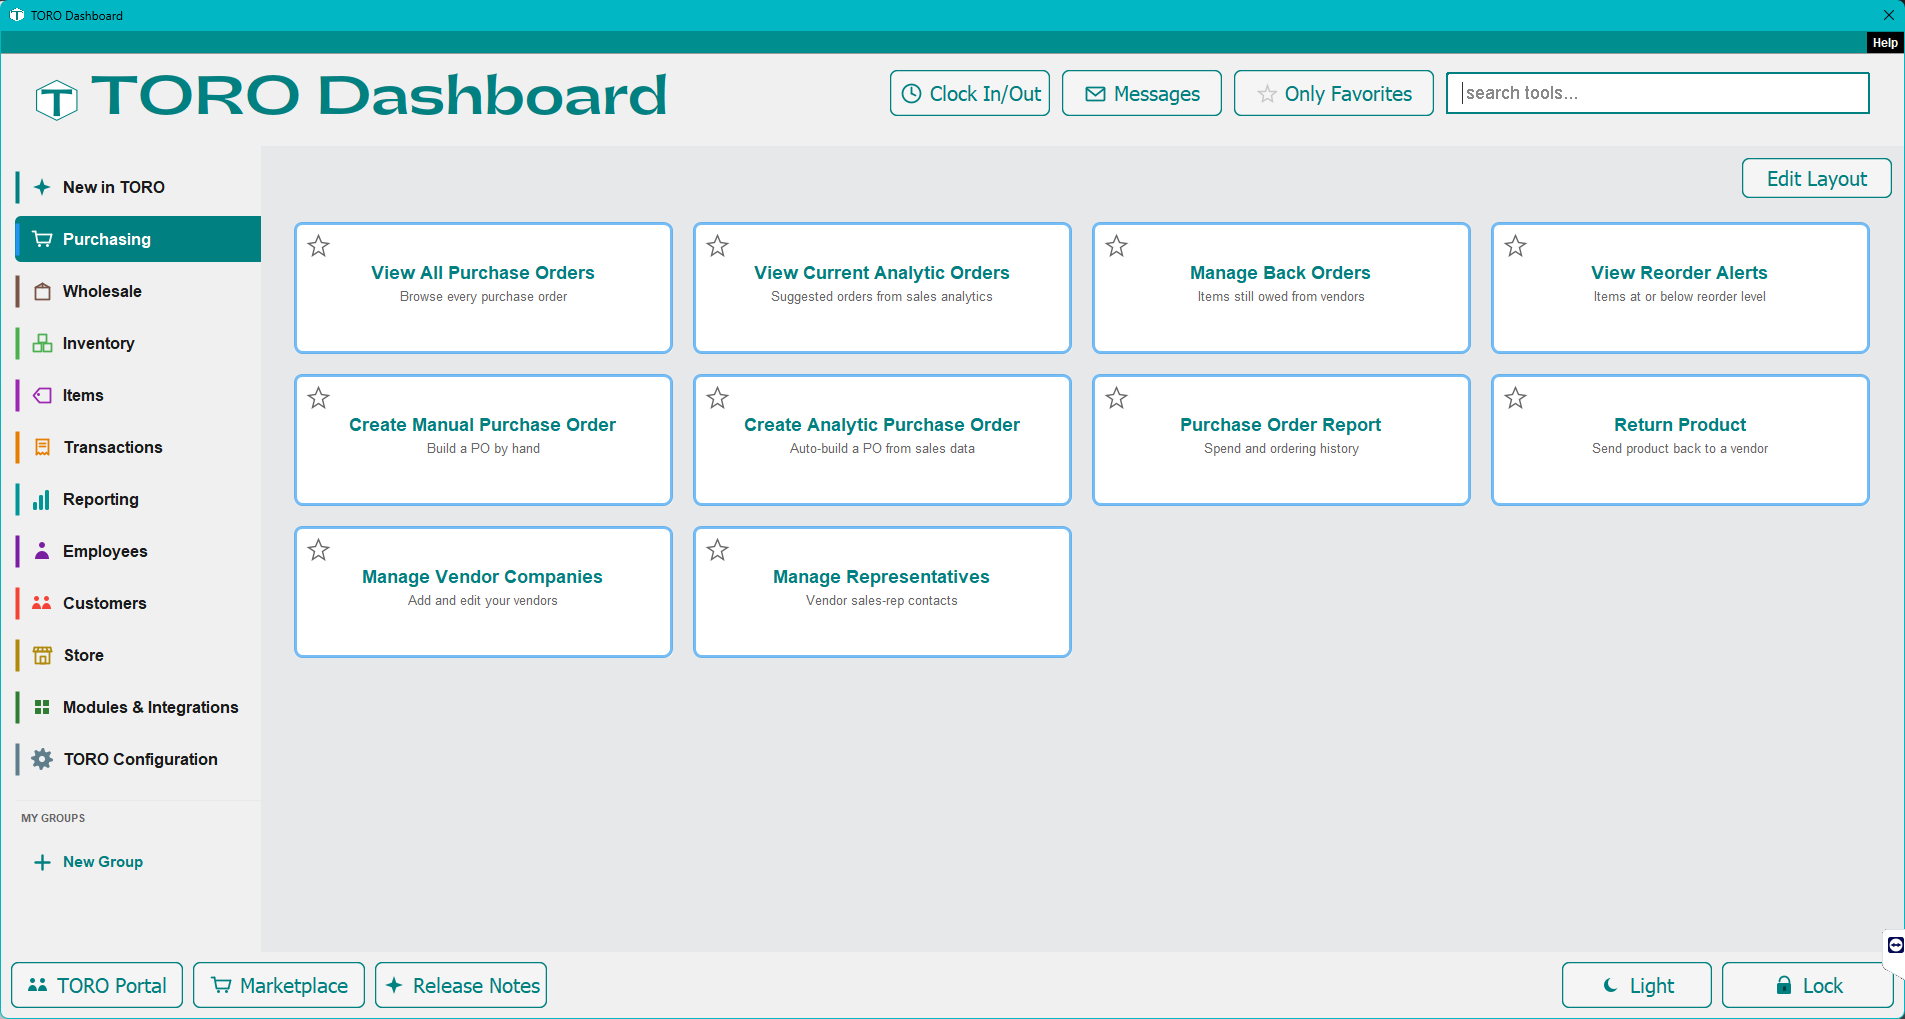
Everything about purchasing lives in one place: open the Dashboard and click the Purchasing tab on the left. That tab has cards for building orders, viewing them, managing your vendors and reps, and more. When this guide says "go to Purchasing," that's where to go.
The big picture
Here's the whole loop, start to finish. It only looks like a lot the first time:
- Set up who you buy from — your vendor, the rep who takes your orders, and the brands you buy from them. You do this once per vendor.
- Build a purchase order — a list of what you're ordering, with quantities and costs.
- Send it to your rep — TORO emails or texts it for you.
- Receive the shipment when it arrives — your stock counts go up automatically.
- Verify it against the invoice — a quick scan-and-check that catches short-shipments and surprises.
That's it. Set up once, then it's just build → send → receive → verify, every time.
First time? Set these up once
You can't write a purchase order until TORO knows three things. Think of it as a one-time, five-minute setup per vendor:
- Setting Up a Vendor Company — who you're buying from.
- Adding Vendor Sales Reps — the person TORO sends your order to.
- Linking Brands to Vendors — so the right items come up on the order (and so TORO can suggest reorders).
In a hurry? The Quick Start: Set Up a New Vendor walks all three in one short checklist.
The everyday flow
Once your vendors are set up, this is the routine:
- Creating a Purchase Order — build an order by hand, or let TORO suggest one from your sales history, then send it to your rep.
- Receiving Inventory — check in a shipment when it arrives and update your counts.
- Verifying a Received Purchase Order — scan the boxes and reconcile against the invoice before you close the order out.
The two screens you'll live in
- The Purchase Order Screen — the list of every order you've ever made, with filters, statuses, payments, and settings. Your ordering command center.
- Inside the Purchase Order Editor — the single-order screen where you add items, adjust costs, send, and receive. A full button-by-button tour, for when you want to know what everything does.
Good to know
- Rolling Inventory — an optional setting that prompts you to recount items as shipments come in. Off by default; here's what it does and how to turn it on.
- Item Reorder Alerts — get warned when an item runs low so you know when to order.
- Vendor Report Card — once you're ordering through TORO, this grades your vendors and arms you for your next rep meeting.
In a hurry? Quick walkthroughs
Short, do-this-then-that versions of the three things you'll do most:
- Quick Start: Set Up a New Vendor
- Quick Start: Create and Send a Purchase Order
- Quick Start: Receive a Shipment
Why this matters
Ordering on paper or from memory works right up until it doesn't — a double-order here, a forgotten reorder there, cost data that drifts a little further from reality every month. Running purchasing through TORO turns all of that into a system: you always know what's on order, what it cost, when it's due, and whether the vendor billed you right. Start with the setup above, do a couple of orders, and it becomes second nature fast.