Getting a Heads-Up When a Customer Comes In
Some customers you want to know about the moment they walk in: a big spender you want to greet personally, someone whose special order has arrived, or someone your staff need to keep an eye on. Account notifications do exactly that. Flag the customer once, and every time they're rung up, TORO sends a CUSTOMER IN STORE NOTICE to whoever you've chosen.
These notices go to you and your staff, not to the customer. The customer never sees them.
Finding It
Open the Dashboard
Click the Customers tab on the left, then click the Manage Account Notifications card. (Can't find it? Type "notification" in the search box at the top right.)
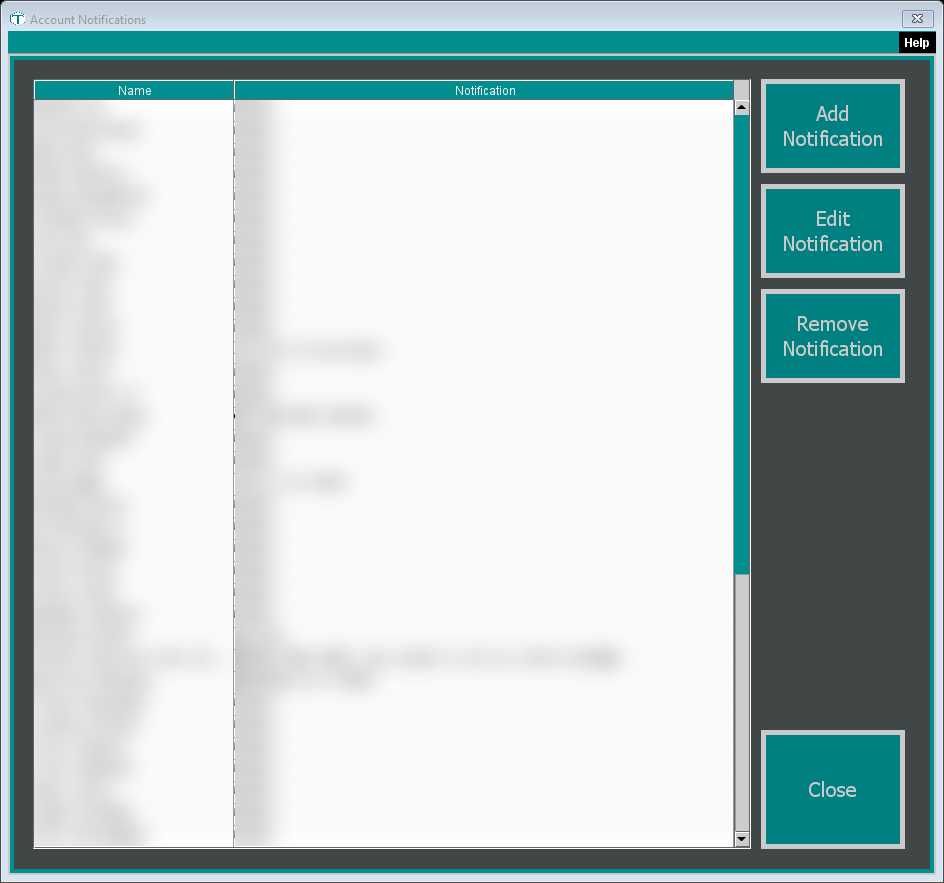
The window is titled Account Notifications. It lists every customer who currently has a notification, with the Name and the Notification note you added for them.
Adding a Notification
Click Add Notification. TORO asks Who do you want to add notifications for?
Pick Single Account to choose one customer from the customer search, or Multiple Accounts to pick a group of customers in the customer search tool.
TORO asks whether you want to add an optional message. Type a short note if it helps (for example "Special order Opus X is in" or "Check ID") and click OK. This note is added to the end of every notice. If you don't want a note, click Cancel: the notification is still added, and any note the customer already had stays as it was.
The customer is added to the list straight away.
If you add several customers at once and some already had a notification, TORO tells you how many. Clicking OK on the note question gives everyone you picked that note, replacing any note they had; Cancel leaves their existing notes alone.
Changing or Removing One
Edit Notification (or double-click a customer) opens the customer's notification. Change the Notification Notes and click OK. The Notify On Arrival box on that screen is greyed out; use Remove Notification to turn a notification off.
Remove Notification turns notifications off for every customer you've highlighted, after you confirm. They come off the list, and you can add them again any time.
You can also turn this on and off for one customer from their account: open the customer's account and use the Notify via SMS On Arrival box and the Notification Notes under it.
When the Notice Goes Out
TORO sends a notice each time a flagged customer is:
- looked up to start a sale
- put on a tab when the tab is saved
- on a sale that's completed
So one visit can send more than one notice: one when the cashier looks them up and another when the sale finishes. Each notice includes the date and time, the customer's name and phone number, what happened (for example Transaction Completed), the total and item count where there is one, and your note.
Choosing Who Gets the Notice
The notice goes to everyone signed up for the Customer In Store message. If nobody is, nobody gets it, so set this up the first time you use the feature.
Open the Dashboard
Click the TORO Configuration tab on the left, then click the Set Up System card
Click the Communications tab, then click Messages From TORO. (This one is for the store's admin login.)
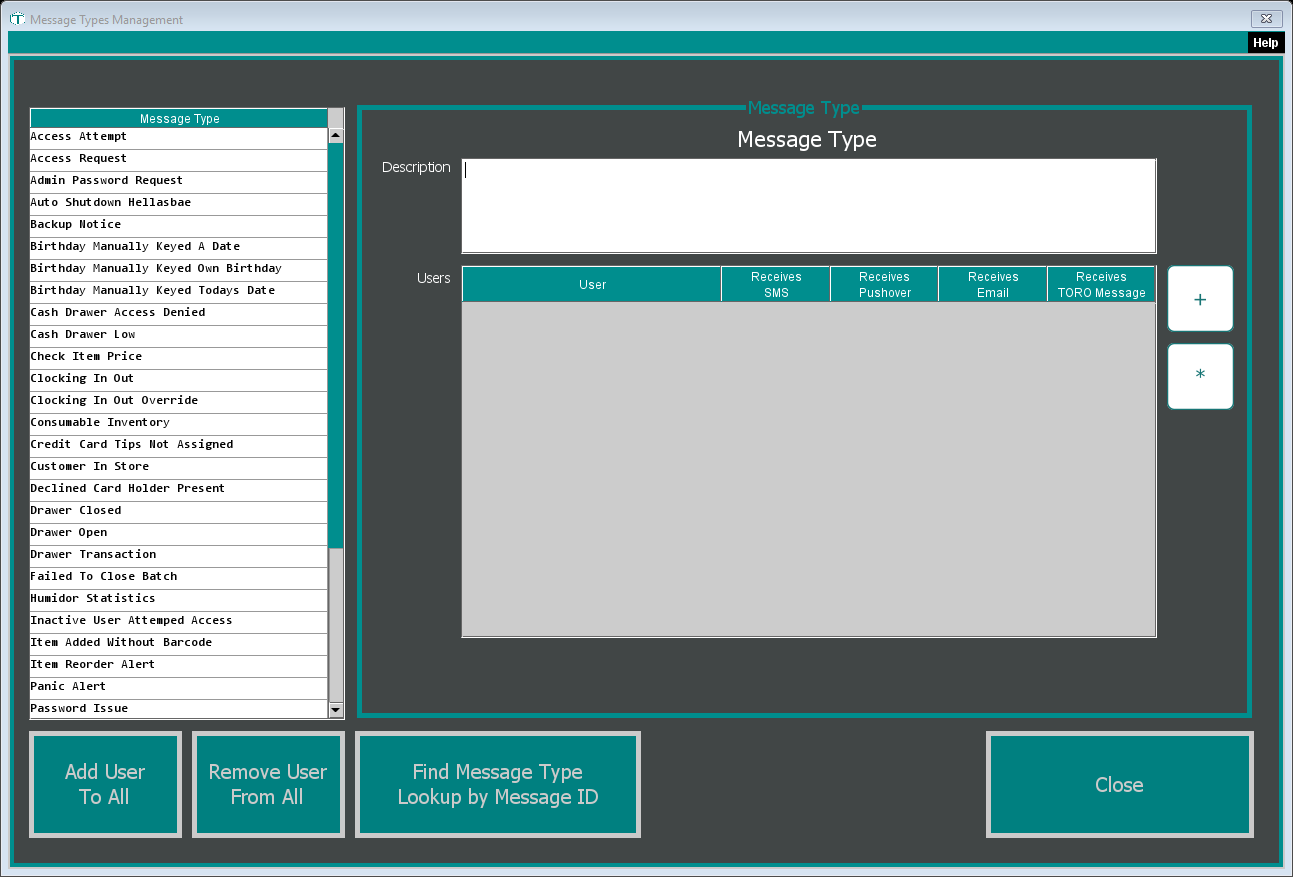
In the Message Type list on the left, click Customer In Store
Click + on the right and pick the employees who should get it. The columns show how each person receives it: Receives SMS, Receives Pushover, Receives Email and Receives TORO Message. Highlight a person and click * to change that.