Serial Number Logbook
Some things you sell carry their own serial number: an electronic humidifier, a premium lighter, a numbered limited-edition humidor. When a warranty claim or a "which one did I buy?" call comes in months later, you want to know exactly which unit went to whom. The Serial Number Logbook keeps that record: each serial number, the item it belongs to, the purchase order it came in on, and the sale it went out on.
This is an add-on feature. If you click Serial Number Logbook and TORO says "Your store does not have access to this Paid Module", it just needs to be switched on for your store — give us a call.
Finding It
Open the Dashboard
Click the Inventory tab on the left, then click the Serial Number Logbook card. (Can't find it? Type "serial" in the search box at the top right.)
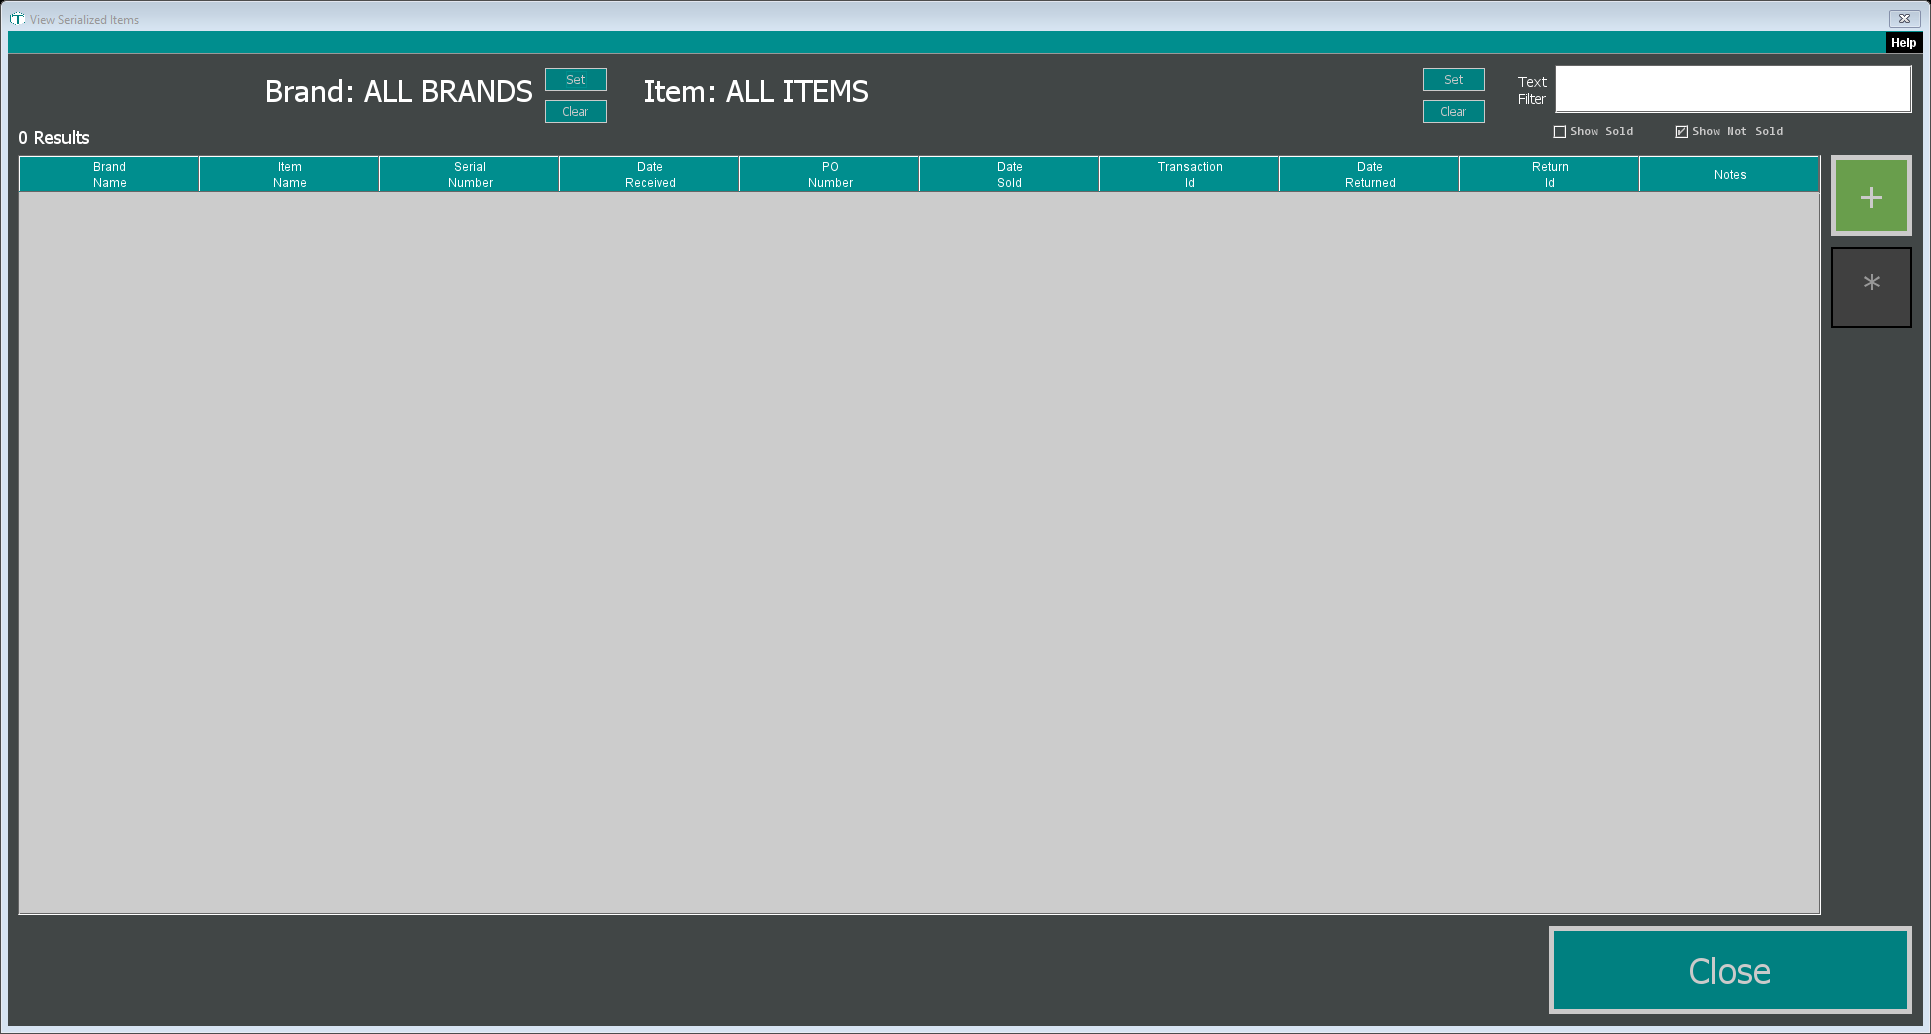
The View Serialized Items window lists the serial numbers you've recorded. To start, it shows only units that haven't sold yet.
- Brand and Item at the top narrow the list. Click Set to pick one. Picking an item sets its brand too. Clear beside Item clears just the item; Clear beside Brand clears both.
- Text Filter narrows the list as you type.
- Show Sold and Show Not Sold choose which units show. Tick both to see everything.
The count of matching units shows just above the table.
Recording a Serial Number
Click +. (When nothing matches your filters, the + button turns green as a nudge.) If you've set an item filter, the new entry starts on that item.
In the Serialized Item window, click Set next to Item and pick the item, if it isn't filled in already.
Type the Serial Number.
Under Purchasing Information, link the purchase order it arrived on: Select picks from your purchase orders, or Input # asks "What is the Purchase Order Number?" TORO fills in Date Received from the purchase order, and asks before changing a date you've already set. View opens the purchase order and Clear unlinks it.
Add any Notes, then click Save.
To change an entry, highlight it and click * (or double-click it). An entry's serial number is locked once it's saved, to keep it from being changed by accident. Click Edit beside it to unlock it.
Recording the Serial Number When You Sell
You can have TORO ask for the serial number at the register. Turn on Record Serial Number for the product type in your product type settings (see Setting Up Product Types). That checkbox only appears once the add-on is on.
From then on, when an item of that product type is rung up, TORO asks "This product type has the ability to specify a serial number. Would you like to do that now?" Say yes, pick the unit in the list, and click Select Serial Number. Only units that haven't sold can be picked.
When the sale is completed, TORO fills in that unit's Date Sold and Transaction Id for you, so it drops out of the "not sold" list.
If a unit was sold without being picked, open its entry and use Input # under Transaction Information to type the transaction number. TORO fills in Date Sold from the sale. View opens the sale.