Receipt Bands
A receipt band is a short custom printout from your receipt printer. You decide what's on it, line by line: your logo, your store name, a cigar's brand and name, your website or Instagram handle, a picture, or any text you like. You can link a band to an item, so you can print one for every cigar in a box straight from that item, which is handy for house blends and anything that comes without its own band.
Finding It
Open the Dashboard
Click the Inventory tab on the left, then click the Manage Receipt Bands card. (Can't find it? Type "receipt bands" in the search box at the top right.)
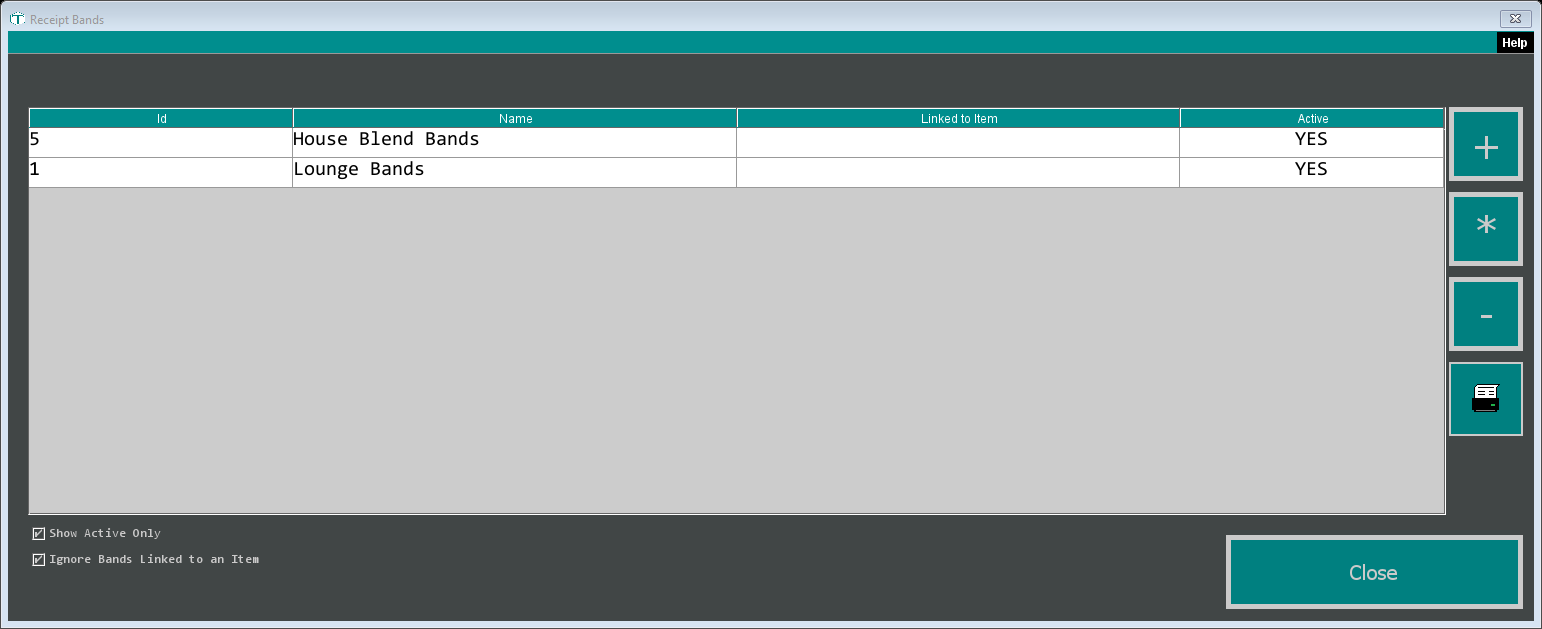
The Receipt Bands window lists your bands. Two boxes at the bottom left decide what shows, and both start ticked:
- Show Active Only hides bands you've turned off.
- Ignore Bands Linked to an Item hides bands that belong to a particular item. Untick it to see those too.
The buttons on the right:
- + makes a new band.
- * opens the highlighted band to change it (double-clicking works too).
- The printer button asks "How many do you want to print?" and prints that many of the highlighted band.
- - can't delete a band. It says "Not available quite yet. Contact Support if you need this functionality." To retire a band, open it and untick Active instead.
Building a Band
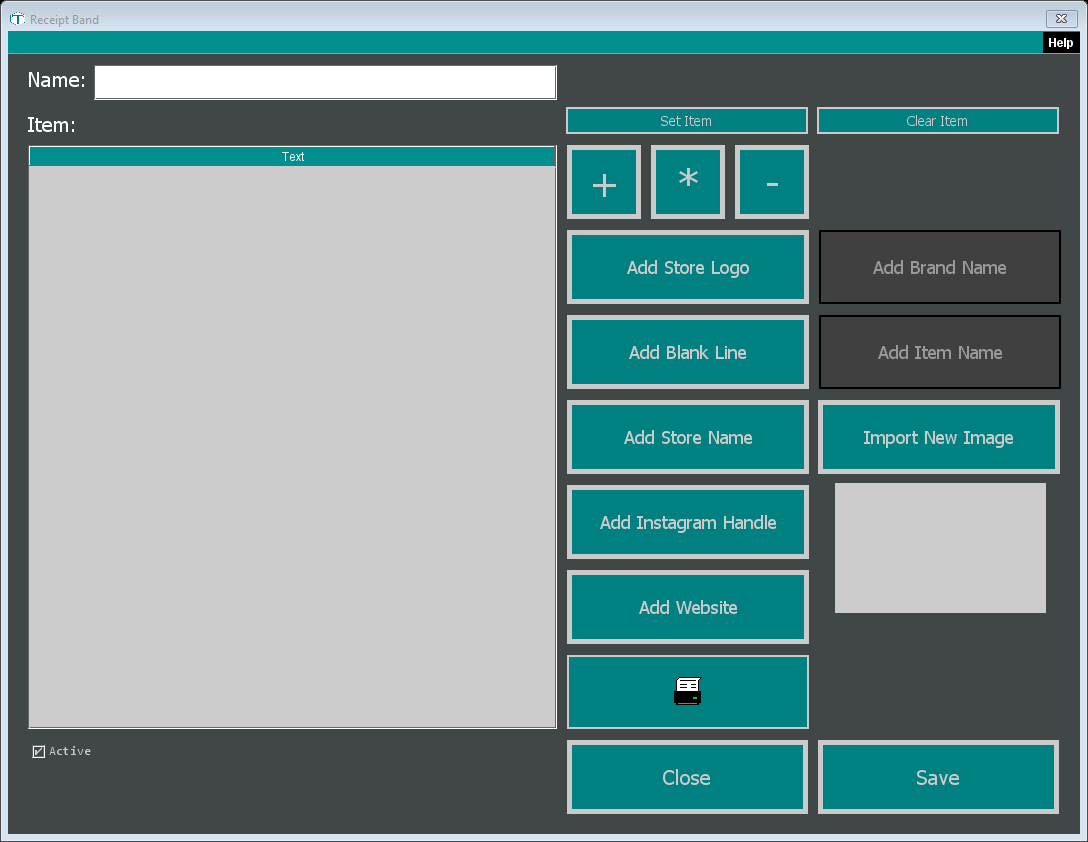
Type a Name for the band. It's for you; it doesn't print.
Add lines. They print from top to bottom in the order they appear in the list on the left.
- Add Store Logo puts your store logo on the band.
- Add Blank Line adds space.
- Add Store Name, Add Instagram Handle and Add Website add a centered line with that detail from your store's setup.
- Import New Image lets you pick a picture to print. TORO reminds you: "Image must be 200 pixels in width and whatever height you want."
- + adds your own line of text. Type it, pick Left, Center or Right under Text Alignment, and click Save. A line can be up to 44 characters.
Use * (or double-click a line) to change it, and - to remove the highlighted lines.
To tie the band to an item, click Set Item and pick it. That turns on Add Brand Name and Add Item Name, which add the item's brand and name as centered lines. Clear Item unlinks it.
Click the printer button to print a test copy.
Leave Active ticked and click Save. Close leaves without saving.
Ending on a blank line? A blank line at the very end doesn't print. If you're using blank lines to make the band longer, TORO asks whether you want to add something after them, like your store name.
Printing Bands From an Item
You can also set up and print a band right from an item:
Open the item in Item Details.
Click Set Up Receipt Band. If the item doesn't have a band yet, the editor opens with a new band named after the item and already linked to it. Build it as above and click Save.
Click Print Receipt Band. TORO asks "How many receipt bands?" and tells you how many items are in the item's box, starting with that number so you can band a whole box in one go.
Print Receipt Band stays greyed out until the item has a band.